Back to the Roots offers convenient, organic mushroom grow kits for a delightful home gardening experience, delivering fresh gourmet mushrooms in just ten days!
These kits provide an accessible entry point into mycology, fostering a connection with nature and sustainable food practices for all skill levels.
What are Back to the Roots Mushroom Kits?
Back to the Roots Mushroom Kits are self-contained, organic systems designed to allow anyone to easily grow delicious gourmet oyster mushrooms at home. These kits aren’t about complex gardening; they’re about simplicity and sustainability. Each kit contains a pre-inoculated substrate block – essentially, a block of recycled coffee grounds and sawdust colonized with mushroom spawn.
This innovative approach utilizes waste products, promoting eco-friendly practices. The kits come ready to fruit with minimal effort, requiring only consistent misting and a suitable environment. They are available in various types, including Oyster, Lion’s Mane, and Pink Oyster varieties, offering diverse culinary experiences. They are a fantastic way to learn about the fascinating world of fungi!
Why Choose a Home Mushroom Growing Kit?
Opting for a home mushroom growing kit, like those from Back to the Roots, offers numerous benefits. Firstly, it provides access to incredibly fresh, organic mushrooms, often superior in flavor and nutritional value to store-bought varieties. Secondly, it’s a remarkably educational and rewarding experience, connecting you directly to your food source.
Beyond the culinary advantages, these kits promote sustainability by utilizing recycled materials and reducing your carbon footprint. They’re also a fantastic hobby, offering a unique and engaging activity for individuals and families. Plus, a kit’s long shelf life ensures readiness when you are!
Unboxing and Kit Contents
Back to the Roots kits typically include a substrate block, a humidity tent, and a spray bottle for misting – everything needed to begin your mushroom journey!

Identifying the Components of Your Kit
Upon opening your Back to the Roots Mushroom Grow Kit, you’ll find several key components. The most substantial is the substrate block, a pre-inoculated mixture designed to nurture mushroom growth. This block is typically encased in a protective plastic bag.
Next, locate the humidity tent, a clear plastic cover that helps maintain the necessary moisture levels. A small spray bottle is included for regular misting, crucial for hydration. Finally, you may find instructions and occasionally, a small pair of gloves for handling the kit.
Understanding each part’s role is vital for successful cultivation. The substrate provides nutrients, the tent traps humidity, and the spray bottle delivers essential moisture.
Understanding the Substrate Block
The substrate block is the heart of your Back to the Roots Mushroom kit, a carefully crafted blend designed to support mushroom development. It’s composed of organic materials like recycled coffee grounds and sawdust, providing essential nutrients.
Within this block lies the mushroom spawn – the mycelium, which is the vegetative part of the fungus. This mycelium is already colonizing the substrate, awaiting the right conditions to fruit. The block appears solid, but it’s porous, allowing for air and water exchange.
Avoid damaging the block’s surface, as this can disrupt the mycelial network. Proper hydration is key; the substrate needs moisture to initiate the fruiting process.

Initial Setup: Preparing for Growth
Back to the Roots kits require minimal setup! Simply open the box, prepare for hydration, and create a suitable environment for optimal mushroom development.
Hydration Process: Misting and Soaking
Initial hydration is crucial for successful mushroom growth. Begin by gently misting the substrate block with water two to three times daily, ensuring even moisture distribution across the surface; Avoid over-saturation, as this can lead to contamination.

For the first week, consider a light soaking by placing the kit (box open) in a plastic bag for 24 hours, creating a humid environment. This jumpstarts the mycelium’s activity.
Maintain consistent moisture levels throughout the fruiting process; the substrate should feel damp, not soggy. Regular misting replicates the natural humidity mushrooms require to thrive, promoting healthy pin formation and robust development.
Creating the Ideal Growing Environment
Establishing the right environment is key to a bountiful harvest. Place your Back to the Roots kit in an indirect light location, avoiding direct sunlight which can dry out the substrate. A kitchen counter, basement, or shaded windowsill works well.
Mushrooms thrive in high humidity. Maintaining 80-90% humidity is ideal; misting several times a day, or using a humidity tent (plastic bag with holes), helps achieve this.
Good air circulation is also vital to prevent mold. Ensure gentle airflow without directly blasting the kit. A consistently humid and well-ventilated space will encourage rapid growth and plentiful fruiting.
Optimal Temperature and Humidity Levels
Maintaining consistent temperature and humidity is crucial for successful mushroom growth. Oyster mushrooms, commonly grown with Back to the Roots kits, prefer temperatures between 60-75°F (15-24°C). Avoid drastic temperature fluctuations.
Humidity levels should ideally remain between 80-90%. Regular misting with a spray bottle – 2-3 times daily – is essential. Creating a humidity tent using a plastic bag with air holes can also help retain moisture.
Monitor conditions closely; too little humidity leads to drying, while excessive humidity can encourage contamination. A balance is key for healthy fruiting!
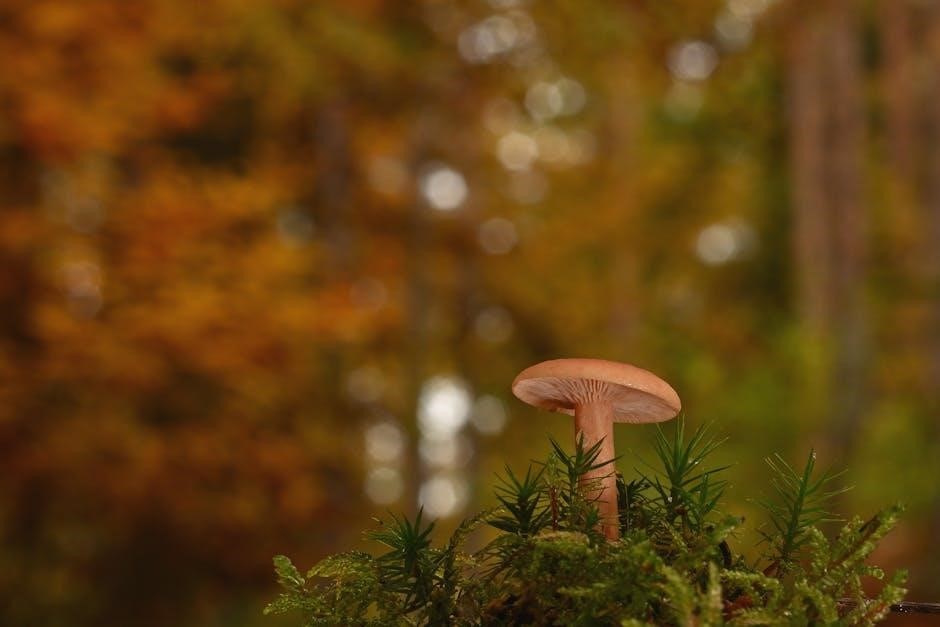
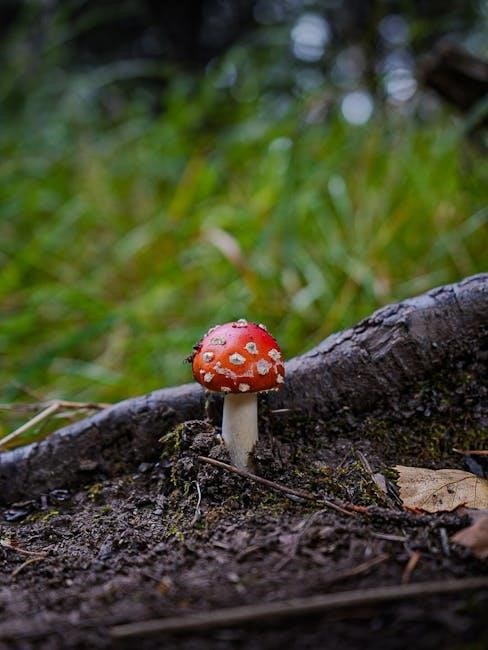
The Fruiting Process: Watching Your Mushrooms Grow
Observe for tiny mushroom “pins” forming on the substrate, signaling the start of fruiting! Maintain ideal conditions for rapid development and a bountiful harvest.
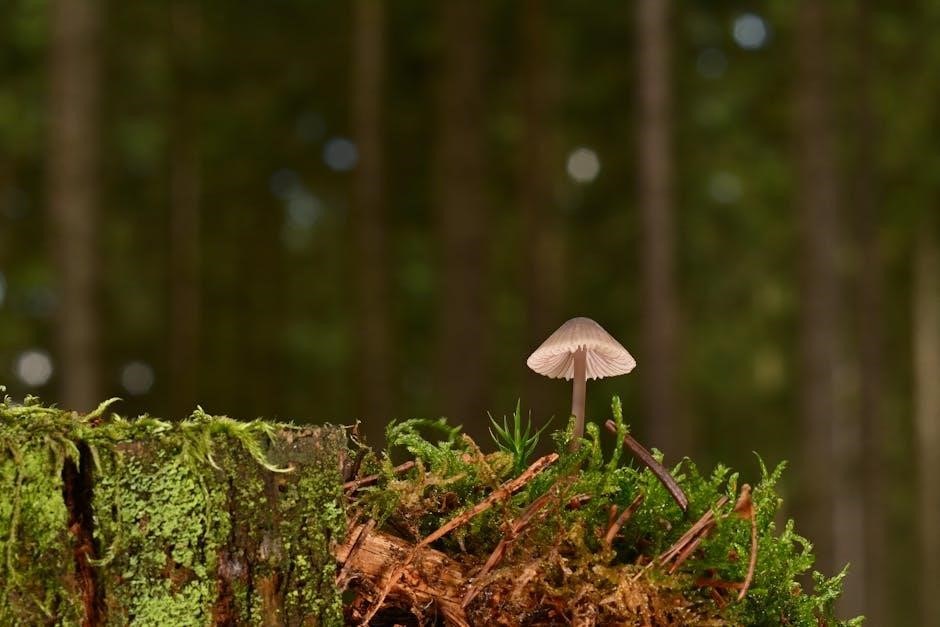
Pinning: The First Signs of Mushrooms
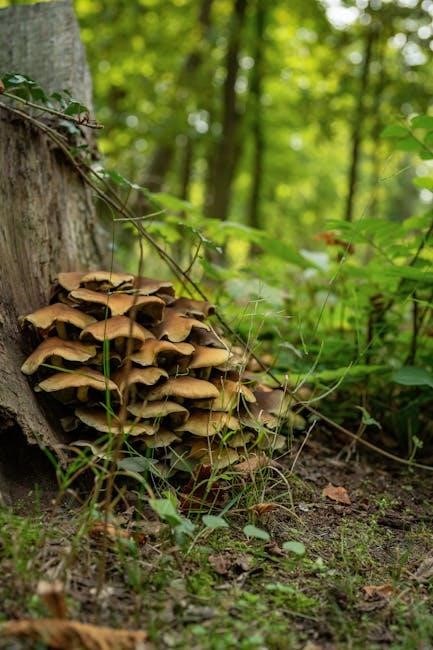
Pinning is the exciting initial stage where minuscule mushroom formations, resembling tiny pins, emerge from the substrate block. These delicate structures are the precursors to fully developed mushrooms, indicating successful colonization and the beginning of the fruiting cycle.
Look closely for these small bumps, typically white or slightly colored, appearing across the substrate surface. Maintaining consistent humidity and temperature is crucial during pinning, as fluctuations can hinder development.
Avoid direct airflow onto the pins, as this can cause them to dry out and abort. Patience is key; pinning can take several days, and not all pins will necessarily mature into harvestable mushrooms.
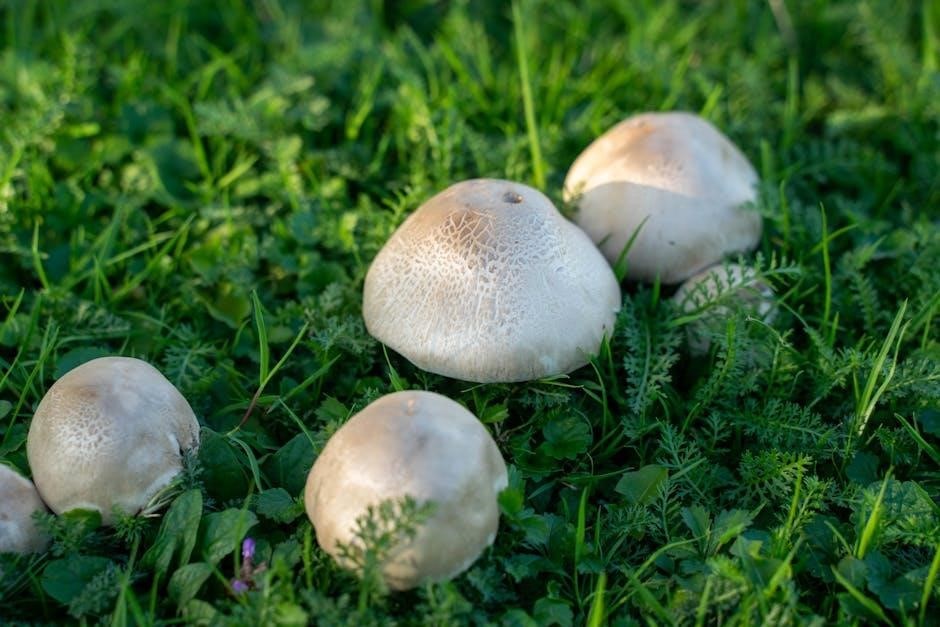
Developing Mushrooms: From Pin to Harvest
Once pins appear, they rapidly transition into recognizable mushroom forms, expanding in size daily. Observe a noticeable change in cap shape and stem elongation as they mature. Consistent high humidity—around 80-90%—is vital during this phase, achieved through regular misting.
Monitor closely for optimal harvest timing; mushrooms are typically ready when the cap’s edges begin to flatten or slightly curl upwards, before spores are released. Avoid letting them fully mature, as spore release can signal the end of the flush.
Gentle handling is essential to prevent bruising or damage during development, ensuring a quality harvest.
Harvesting Your Mushrooms: Timing and Technique
Harvest when caps flatten or curl upwards, before spore release begins. Gently grasp the mushroom cluster’s base and twist, or use a clean, sharp knife to cut the stems close to the substrate. Avoid pulling, which can damage the mycelium.
Handle harvested mushrooms carefully to prevent bruising. Store them in a paper bag in the refrigerator; avoid plastic, which traps moisture and accelerates spoilage. Freshly harvested mushrooms are best consumed within a week.
A successful harvest encourages further flushes, maximizing your kit’s yield. Enjoy the fruits of your labor!
Troubleshooting Common Issues
Addressing challenges like lack of fruiting or contamination is key to success. Back to the Roots offers support and replacements if needed, ensuring a bountiful harvest!
Kit Not Fruiting: Potential Causes and Solutions
Several factors can prevent your Back to the Roots kit from fruiting. Insufficient humidity is a common culprit; ensure consistent misting to maintain a moist environment. Temperature fluctuations also play a role – ideal ranges are typically between 60-75°F (15-24°C).
Improper hydration during the initial setup can hinder growth. Verify the substrate block is thoroughly soaked, but not waterlogged. Contamination, though less frequent, can also inhibit fruiting; look for any unusual mold growth.
If issues persist, contact Back to the Roots customer support. They offer assistance and may even provide a replacement kit if your initial attempt fails, demonstrating their commitment to customer satisfaction and successful mushroom cultivation.
Contamination: Identifying and Addressing Mold
Mold contamination, while uncommon, can occur in mushroom kits. Look for unusual colors – green, black, or orange – or fuzzy patches on the substrate. Small white spots are often mycelium and not a concern, but monitor them closely.
If contamination is identified, isolate the kit to prevent spreading. Unfortunately, heavily contaminated kits are generally not salvageable and should be discarded responsibly. Preventative measures include maintaining a clean growing environment and avoiding overwatering, which encourages mold growth.
Back to the Roots emphasizes sterile practices. Contact their support team with photos for confirmation; they can offer guidance and potentially a replacement kit if the issue arises.
Pink Oyster Mushroom Issues: Addressing Discoloration
Pink Oyster mushrooms sometimes exhibit discoloration, which isn’t always a sign of contamination. A slight pinkish hue is normal, even intensifying with maturity. However, watch for darkening or spreading discoloration accompanied by an unpleasant odor, indicating potential issues.
If discoloration appears concerning, increase air circulation and reduce humidity. Ensure the kit isn’t overcrowded, allowing for better airflow. Avoid direct sunlight, as it can stress the mushrooms.
Back to the Roots notes that some pink oyster kits may experience minor variations. Document the changes and contact their support team with photos for expert assessment and guidance.
Extending the Life of Your Kit: Second Harvests
Assess the substrate after the first harvest; if viable, rehydrate it thoroughly with water for a potential second “flush” of delicious, homegrown mushrooms!
Assessing Kit Condition for Reuse
Before attempting a second harvest, carefully evaluate your Back to the Roots mushroom kit’s condition. Examine the substrate block for any signs of aggressive contamination, such as vibrant green or black mold – a small amount of discoloration is often normal.
Gently press the substrate; it should still feel firm but retain some moisture. If it’s completely dried out and brittle, a second flush is unlikely. Look for remaining white mycelium, indicating continued life within the block.
A healthy kit will show some residual mycelial growth even after the first harvest. If the substrate appears compromised or lacks any signs of life, it’s best to compost it and start with a fresh kit for optimal results.
Rehydrating the Substrate for a Second Flush
To encourage a second flush, rehydration is crucial. Gently mist the entire substrate surface with water, ensuring even coverage without oversaturating it. Avoid direct pouring, which can lead to uneven moisture distribution.
For deeper rehydration, carefully submerge the substrate block in cool, clean water for 6-12 hours. This allows the substrate to fully absorb moisture. After soaking, gently drain any excess water – the block should be damp, not dripping.
Return the rehydrated block to its growing container and resume the ideal environmental conditions: consistent humidity and appropriate temperature, to stimulate new pin formation.
Frequently Asked Questions (FAQ)
Kits boast a long shelf life due to a drying process, but the mushrooms remain viable, awaiting rehydration to resume their growth cycle.
Shelf Life and Storage of the Kit
Back to the Roots Mushroom Grow Kits are designed with an impressively long shelf life, offering convenience for growers. This extended viability is achieved through a specialized drying process applied to the substrate and spawn.
Before opening, store the kit in a cool, dry place, away from direct sunlight and extreme temperatures. This preserves the dormant mushroom spores. Once opened, it’s best to begin the hydration process promptly to initiate growth.
Even if you delay starting, the kit remains usable for a considerable period, though optimal results are achieved with timely hydration. The kit doesn’t require refrigeration, simplifying storage and making it a hassle-free gardening option.
Substrate Composition and Mushroom Spawn Location
The Back to the Roots Mushroom Kit substrate is crafted from a blend of organic materials, primarily recycled coffee grounds and sawdust. This provides a nutrient-rich base for mushroom growth, promoting a sustainable and eco-friendly gardening experience.
The mushroom spawn, containing the mycelium – the vegetative part of the fungus – is thoroughly mixed within this substrate block. It’s not located in a specific, isolated area, but rather distributed throughout to ensure even colonization and fruiting.
This integrated approach allows the mycelium to permeate the entire substrate, maximizing mushroom production. No separate spawn addition is needed by the user; it’s all pre-mixed for a simple, successful grow!
Resources and Support
Back to the Roots provides extensive support via their website, customer service, and vibrant online communities for successful mushroom cultivation!
Find FAQs, troubleshooting tips, and connect with fellow growers for shared knowledge and assistance.
Back to the Roots Website and Customer Support
Back to the Roots’ official website serves as a central hub for all kit-related information, offering detailed guides, instructional videos, and a comprehensive FAQ section addressing common concerns.
Their dedicated customer support team is readily available to assist with any issues encountered during the growing process, ensuring a positive experience. You can typically reach them through email or contact forms available on the website.
Notably, Back to the Roots demonstrates a commitment to customer satisfaction by offering replacement kits if initial attempts are unsuccessful with proper care and following instructions. This proactive approach highlights their confidence in their product and dedication to helping growers succeed.
Online Communities and Forums for Mushroom Growers
Numerous online communities and forums cater specifically to home mushroom cultivation, providing a valuable platform for sharing experiences, troubleshooting issues, and learning advanced techniques.
These digital spaces often feature dedicated threads for Back to the Roots kits, where users exchange tips on optimizing growth, addressing contamination, and maximizing yields. Platforms like Reddit’s r/MushroomGrowers and specialized mycology forums are excellent resources.
Engaging with these communities allows growers to benefit from collective knowledge, receive personalized advice, and stay updated on best practices for successful mushroom cultivation, supplementing the kit’s instructions.