Navigating the art of bread slicing, from freehand techniques to automated systems, requires understanding tools and methods for consistently perfect results.
Precision slicing ensures enjoyable sandwiches and toast, while proper techniques prevent crushing or tearing the delicate crumb structure of various bread types.
The Importance of Proper Slicing
Achieving consistently even bread slices transcends mere aesthetics; it fundamentally impacts the overall eating experience and usability of the loaf. Uniform slices ensure balanced flavor distribution in sandwiches, preventing one bite from being overwhelmingly bread-heavy while another lacks sufficient carbohydrate support.
Furthermore, proper slicing minimizes crumb compression, preserving the bread’s texture – crucial for enjoying its intended qualities, whether a soft, airy interior or a satisfyingly chewy bite. Crushed or torn bread is not only visually unappealing but also diminishes the enjoyment of each mouthful.
Beyond the sensory experience, consistent slicing is vital for portion control and presentation, particularly in commercial settings. It also extends the bread’s freshness by reducing exposed surface area, slowing down staling. Mastering slicing techniques, therefore, is an investment in both culinary satisfaction and practical efficiency.
Brief History of Bread Slicing Technology
For centuries, bread slicing was a purely manual process, relying on skill and a sharp knife – a time-consuming task demanding considerable dexterity. The advent of the 20th century brought a revolutionary shift with Otto Frederick Rohwedder’s invention of the first bread-slicing machine in 1928.
Initially met with skepticism, Rohwedder’s machine addressed concerns about bread quickly drying out after slicing by incorporating a mechanism to wrap the slices. This innovation quickly gained traction, transforming the baking industry and consumer convenience.
Early machines were large and complex, primarily utilized by commercial bakeries. Over time, advancements led to smaller, more affordable electric bread slicers for home use, and even manual, jig-based systems. Today, automated lines handle high-volume production, integrating slicing with packaging for maximum efficiency, showcasing a remarkable evolution from hand-cut loaves to precisely sliced, pre-packaged bread.

Tools for Bread Slicing
A variety of tools exist for slicing bread, ranging from specialized serrated knives to electric slicers and manual jig systems, each offering unique advantages.
Serrated Bread Knives: Types and Features
Serrated bread knives are the cornerstone of home bread slicing, distinguished by their toothed blade designed to cut through crusty exteriors without crushing the soft interior. These knives come in various lengths, typically ranging from 8 to 12 inches, catering to different loaf sizes.
Blade shapes also vary; some feature a gently curved blade for a rocking motion, while others are straighter for more direct cuts. Restaurant-supply serrated knives, often longer, are favored for their efficiency. The serrations themselves differ in depth and spacing, impacting cutting performance on various bread textures.
High-quality serrated knives utilize high-carbon stainless steel for durability and sharpness. Handle materials range from wood and plastic to composite materials, prioritizing comfort and grip. A long, precision-engineered blade, combined with a comfortable handle, ensures clean, even slices with each sawing motion.
Electric Bread Slicers: Benefits and Drawbacks
Electric bread slicers offer convenience and consistency, particularly for frequent bread slicing or individuals with limited hand strength. Their primary benefit lies in achieving uniform slices with minimal effort, ideal for creating perfectly portioned sandwiches or toast. Many models feature adjustable slice thickness settings, catering to diverse preferences.
However, electric slicers also present drawbacks. They require electricity and counter space, and can be more challenging to clean than manual knives. Initial cost is higher, and some models may struggle with exceptionally crusty or irregularly shaped loaves.
Furthermore, safety is a concern, as the exposed blade demands careful operation. While offering speed and precision, electric slicers aren’t always the most practical solution for occasional bread slicing needs.
Manual Bread Slicers: Round and Jig-Based Systems
Manual bread slicers provide an alternative to knives and electric models, offering a balance of control and affordability. Round slicers, often hand-cranked, guide the blade through a circular motion, creating consistent slices from round loaves. These are particularly useful for artisan breads, though require some practice to master.
Jig-based systems, conversely, secure the loaf within a frame, allowing for straight, even slices with a serrated knife. These are excellent for standard loaf shapes and offer increased safety compared to freehand slicing.
While requiring manual effort, these slicers eliminate the need for electricity and are relatively easy to clean. Some users find round slicers too small for larger loaves, while jigs may not accommodate all bread sizes or shapes.
Techniques for Hand Slicing Bread
Mastering hand slicing involves preparing the bread, scoring the crust to prevent tearing, and employing a gentle, full-length sawing motion for even slices.
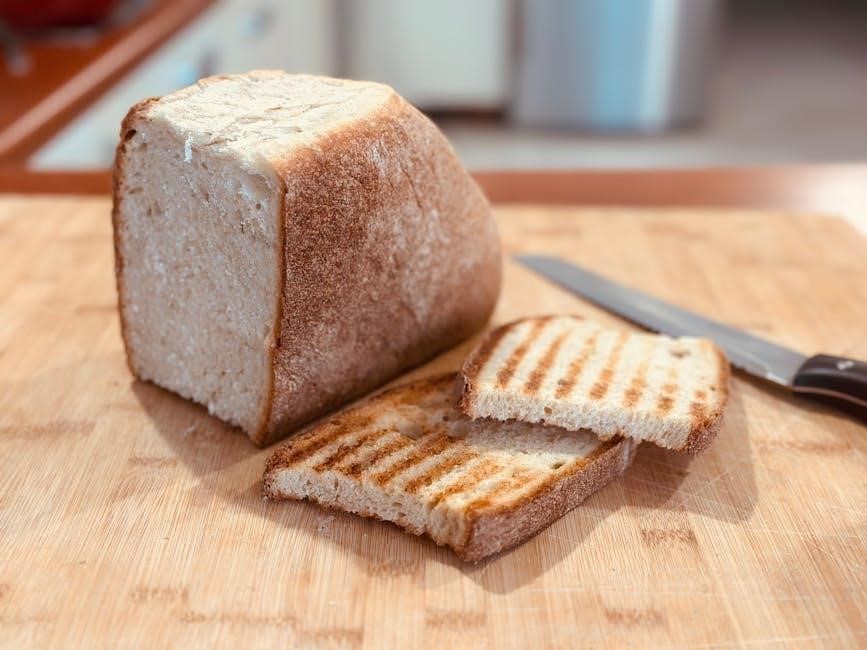
Preparing the Bread for Slicing
Before initiating the slicing process, allowing the bread to cool completely is paramount. Warm bread tends to compress under the blade, resulting in uneven and often crushed slices. A fully cooled loaf maintains its structure, facilitating cleaner cuts.
Ensure a stable cutting surface; a sturdy wooden or plastic cutting board is ideal. Consider placing a damp cloth underneath to prevent slippage during slicing. Inspect the bread’s crust for any irregularities or particularly thick areas that might require extra attention during scoring.
Proper preparation extends to the knife itself. A sharp, serrated bread knife is essential, and verifying its sharpness before starting will significantly improve the slicing experience. A dull knife requires excessive force, increasing the risk of tearing and crumbling. Finally, assess the bread’s shape – whether it’s a standard loaf, round boule, or gluten-free variation – as this will influence your slicing approach.
Scoring the Crust to Prevent Tearing
Scoring the bread’s crust is a crucial preparatory step, particularly for loaves with a robust exterior. Using a sharp knife, make a shallow incision along the intended slicing line. This controlled cut weakens the crust, guiding the blade and preventing it from catching and tearing the softer crumb beneath.
The depth of the score should be approximately ¼ to ½ inch, just enough to break the surface tension of the crust. Avoid scoring too deeply, as this can compromise the loaf’s structure. A swift, decisive motion is preferable to a hesitant sawing action.
For particularly crusty breads, multiple light scores may be more effective than a single deep one. Scoring also allows for controlled expansion during slicing, minimizing compression and ensuring a more uniform slice. Remember, a well-executed score is the foundation for a clean, professional-looking cut.
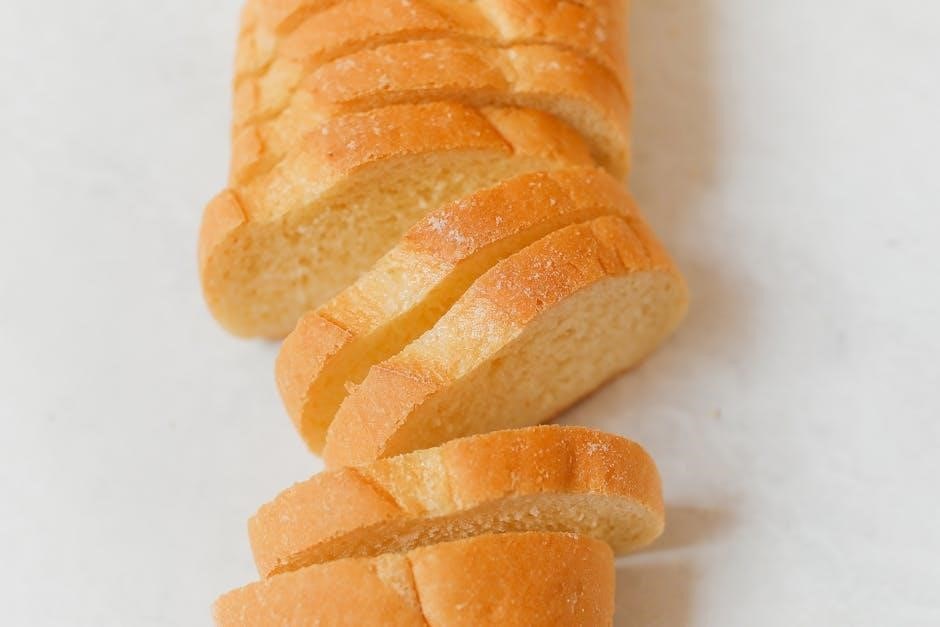
The Full-Length Blade Technique
Employing the full length of the blade in a gentle, back-and-forth sawing motion is paramount for achieving clean, even bread slices. Instead of relying on short, choppy strokes, utilize the entire blade from heel to tip, maintaining consistent pressure throughout the cut. This technique distributes the force evenly, minimizing crushing and maximizing efficiency.
Begin at the heel of the blade, anchoring it firmly into the crust, and draw it smoothly through the loaf, engaging the entire serrated edge. Avoid applying excessive downward pressure; let the blade’s serrations do the work.
This method is particularly effective when combined with a high-quality, precision-engineered bread knife. It ensures a consistent cutting angle and reduces friction, resulting in slices that are both visually appealing and structurally sound. Practice makes perfect, but this technique is a cornerstone of successful bread slicing.
Gentle Sawing Motion: Heel to Tip
A gentle sawing motion, initiated at the heel and extending to the tip of the blade, is crucial for cleanly slicing bread without compressing its delicate structure. Avoid forceful downward pressure; instead, focus on a smooth, rhythmic back-and-forth movement. This technique allows the serrated blade to navigate through the crust and crumb with minimal resistance.
Imagine the blade as a saw, carefully working its way through the loaf. Maintain a consistent angle and speed, avoiding abrupt starts or stops. The sawing action should be fluid and controlled, ensuring an even cut from beginning to end.
This method minimizes tearing and crumbling, resulting in neat, uniform slices. It’s a fundamental skill for both novice and experienced bread slicers, yielding professional-quality results with practice.
Pulling the Slice: Reducing Friction
As the cut deepens, gently pulling the slice away from the loaf can significantly reduce friction and improve slicing efficiency. This subtle technique opens the angle of the cut, providing better access for the blade and minimizing resistance against the already-severed portion. However, exercise caution – this method is most effective with breads possessing a more flexible crust.
Stiffer crusts or crumbs may crack under sideways pressure, so a gentle touch is paramount. The goal is to assist the blade, not force the separation. This technique is particularly useful when hand-slicing, allowing for a smoother, more controlled cut.
Mastering this nuance elevates your slicing skills, resulting in cleaner, more aesthetically pleasing slices with less effort.

Achieving Uniform Slices
Consistent slice thickness relies on maintaining a square cutting angle, applying even pressure, and utilizing a sharp, serrated knife for optimal results.
Maintaining a Square Cutting Angle
Achieving uniform slices fundamentally depends on consistently holding the blade at a 90-degree angle to the cutting board throughout the entire slicing motion. Visualize a perfect square – this is the goal. Deviating from this angle, even slightly, introduces inconsistencies in slice thickness.
Ensure the cutting board is stable and positioned directly in front of you. Pay attention to your body positioning; looking down over the blade, as with a commercial serrated knife, can aid in maintaining this crucial angle. Regularly check your alignment, especially during longer loaves.
A helpful technique is to imagine the blade is a continuation of a line extending from your forearm, promoting a straight, downward motion. Practice makes perfect, and focusing on this angle will dramatically improve the evenness of your slices, leading to more aesthetically pleasing and consistently portioned bread.
Consistent Pressure Application
Maintaining even pressure throughout each slice is paramount for achieving uniformity and preventing crushing or tearing. Avoid starting with excessive force, as this can compress the bread and lead to uneven results. Instead, begin with gentle pressure and gradually increase it as the blade encounters resistance.
Think of it as a controlled glide rather than a forceful push. The goal is to let the serrations do the work, minimizing the need for brute strength. Consistent pressure ensures the blade travels through the loaf at a steady pace, creating slices of equal thickness.
Avoid jerky or uneven movements; a smooth, fluid motion is key. Practice feeling the bread’s resistance and adjusting your pressure accordingly. This tactile feedback will help you develop a consistent technique over time, resulting in beautifully sliced bread.
Slice Thickness Control
Achieving desired slice thickness requires a combination of technique and awareness of the bread’s characteristics. For uniform results, visualize the target thickness before each cut and maintain a consistent blade angle. The depth of each sawing motion directly impacts the final slice width.
Shallower, more frequent strokes yield thinner slices, while deeper, longer strokes produce thicker ones. Automated bread slicers offer precise thickness adjustments, but with hand slicing, practice is crucial. Pay attention to how the bread compresses under the blade and adjust your pressure and stroke depth accordingly.
Consider the bread’s intended use – delicate sandwiches benefit from thinner slices, while hearty toast requires a more substantial cut. Consistent practice and mindful observation will allow you to master slice thickness control.
Bread Types and Slicing Considerations
Different breads demand tailored slicing approaches; soft crusts require gentleness, while crusty loaves benefit from a decisive cut, and gluten-free needs extra care.
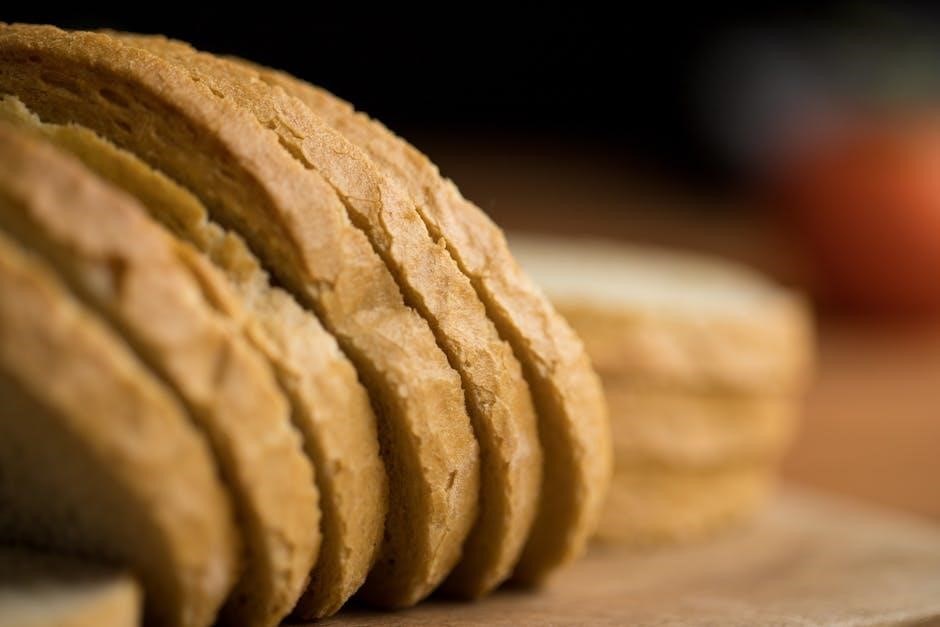
Slicing Soft-Crusted Breads
Slicing soft-crusted breads, like brioche or challah, presents unique challenges due to their delicate structure and tendency to compress easily. A very sharp, serrated knife is paramount, but the technique is equally crucial. Avoid applying excessive pressure, as this will inevitably crush the loaf. Instead, employ a gentle sawing motion, utilizing the full length of the blade, starting from the heel and extending to the tip.
Consider scoring the crust lightly beforehand to guide the blade and minimize tearing. A slight pulling motion, gently separating the slice as you cut, can also reduce friction and promote a cleaner cut. Remember, patience is key; rushing the process will likely result in uneven, misshapen slices. Maintaining a consistent angle throughout the cut is also vital for uniformity.
These breads benefit from a cooler temperature, so allowing them to cool completely before slicing is highly recommended.
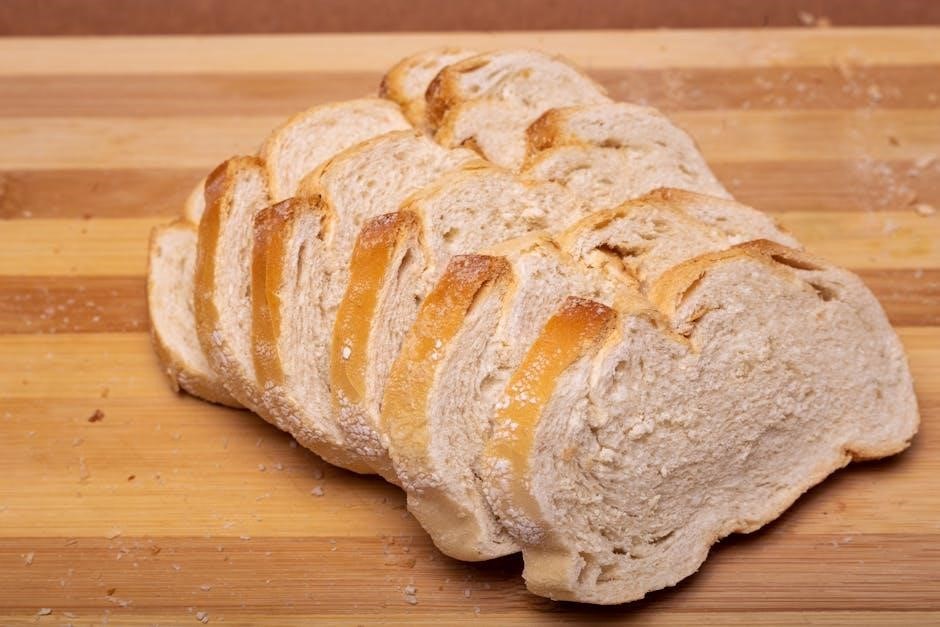
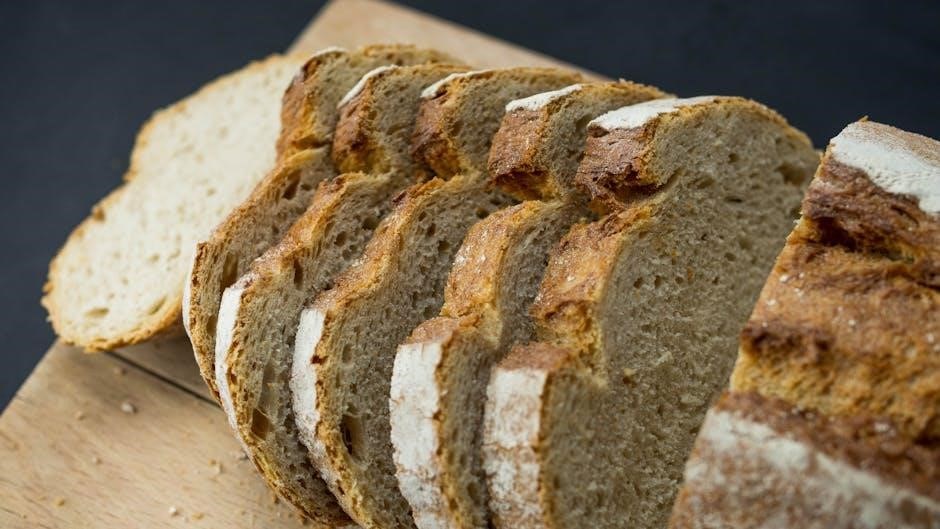
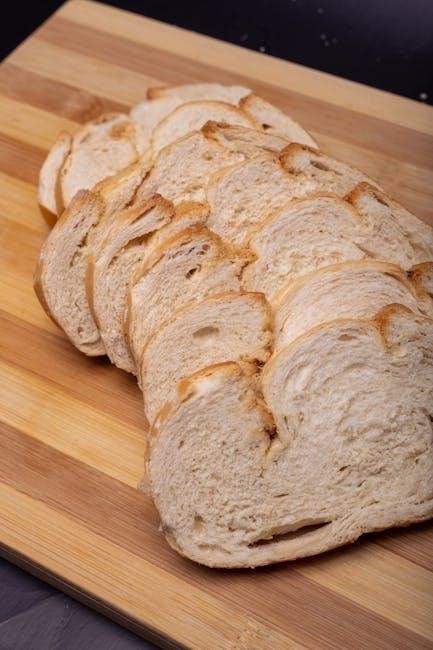
Slicing Crusty Breads
Crusty breads, such as sourdough or baguettes, demand a different approach than their softer counterparts. The key lies in overcoming the robust crust without damaging the airy interior. A large, sharp, serrated bread knife is essential, and applying firm, decisive pressure is necessary to initiate the cut. Scoring the crust deeply before slicing is highly recommended, providing a clear path for the blade and preventing uncontrolled tearing.
Employ a sawing motion, but with more emphasis on the initial penetration of the crust. Once the blade is established, maintain a consistent angle and continue the sawing motion through the entire loaf. Don’t be afraid to use your body weight to assist, but always prioritize control.
A slight pulling motion, combined with the sawing, can help guide the blade and reduce friction. Remember, a clean, swift cut is preferable to a hesitant, jagged one.
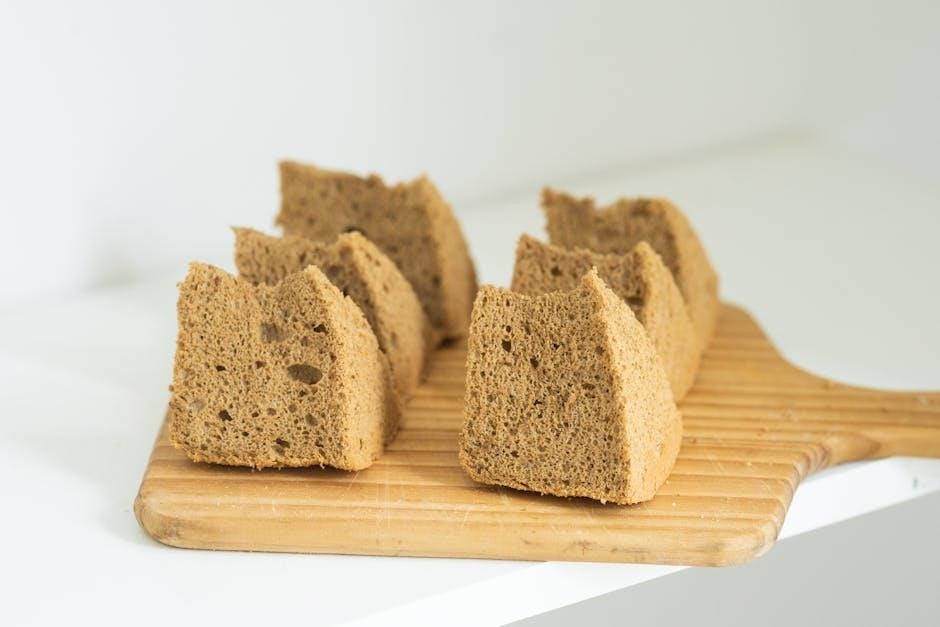
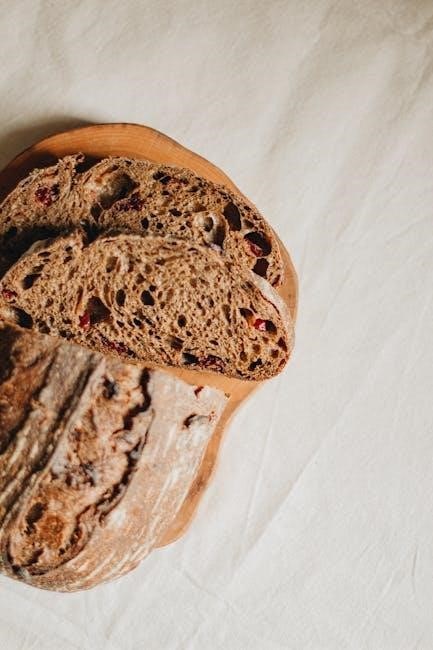
Slicing Gluten-Free Bread
Gluten-free breads often present unique slicing challenges due to their delicate structure and tendency to crumble. Unlike traditional wheat-based loaves, they lack the gluten network that provides elasticity and cohesion. Therefore, extreme care and a very sharp serrated knife are paramount. Cooling the bread completely before slicing is crucial; warm gluten-free bread is significantly more prone to falling apart.
A gentle sawing motion is essential, avoiding any downward pressure that could compress the loaf. Utilize the full length of the blade, starting at the heel and drawing it smoothly to the tip. Consider scoring the crust lightly to guide the cut, but avoid deep scoring which can cause breakage.
Patience is key; slow, deliberate slices will yield the best results. Automated slicing systems designed for gluten-free bread are also available, offering consistent thickness and reduced crumbling.
Automated Bread Slicing Systems
Modern bakeries utilize automated lines for efficient slicing and packaging of various bread types, including loaves, rounds, and gluten-free options.
These systems ensure consistent slice thickness and high-volume production, integrating seamlessly with packaging machinery.
Automatic Lines for Loaf Bread
Automatic slicing lines designed for loaf bread represent a significant advancement in bakery efficiency and consistency. These systems typically begin with infeed conveyors that gently accept loaves from the baking process, orienting them for precise slicing.
High-speed rotary blades, often utilizing serrated edges, then move through the loaf, creating uniform slices according to pre-programmed thickness settings. Crucially, these lines often incorporate features to minimize crumb compression, ensuring a light and airy texture in each slice.
Following slicing, automated systems frequently include stacking and collation mechanisms, arranging the slices into neat piles ready for packaging. Integration with packaging machines is a key benefit, allowing for continuous flow from slicing to sealed packaging, reducing labor costs and maximizing throughput. Modern lines also offer quick changeover capabilities, accommodating different loaf sizes and slice thicknesses with minimal downtime.
Slicing Round Loaves Automatically
Automated slicing of round loaves presents unique challenges compared to standard loaf bread, requiring specialized machinery and techniques. Unlike rectangular loaves, round loaves lack inherent stability during slicing, necessitating precise control and support systems.
Typically, these systems employ a combination of robotic arms and circular blade arrangements. The loaf is often secured onto a rotating platform, ensuring consistent positioning as the blades descend. Sophisticated sensors and software algorithms are used to compensate for variations in loaf size and shape, maintaining slice uniformity.
Advanced systems can even perform pattern slicing, creating decorative cuts or pre-determined portion sizes. Following slicing, automated collation and packaging are also common, streamlining the entire process. These automated lines are essential for bakeries producing high volumes of artisan or specialty round loaves, ensuring efficiency and consistent product quality.
Packaging Integration with Slicing Machines
Seamless integration of slicing and packaging is crucial for maintaining freshness, extending shelf life, and optimizing production efficiency in modern bakeries. Automated slicing machines are increasingly designed with direct connections to packaging systems, minimizing handling and potential contamination.
Following the slicing process, bread slices are often conveyed directly onto packaging belts, where they are automatically stacked, counted, and enveloped in protective film. This can range from simple overwrapping to sophisticated modified atmosphere packaging (MAP), which extends product freshness by controlling gas composition.
Advanced systems incorporate features like date coding, labeling, and even case packing, creating a fully automated line. Such integration reduces labor costs, improves hygiene, and ensures consistent package presentation, ultimately delivering a superior product to consumers.
Troubleshooting Common Slicing Problems
Addressing issues like crushed bread, uneven slices, and torn crusts requires adjusting technique, sharpening blades, or modifying bread preparation methods.
Dealing with Crushed Bread
Crushed bread often results from using a dull blade or applying excessive downward pressure during slicing. A sharp, serrated knife is crucial; ensure it’s properly maintained and sharpened regularly. Instead of forcing the blade through, use the full length of the blade in a gentle back-and-forth sawing motion, starting from the heel and drawing through to the tip.
Avoid pressing down too hard; let the serrations do the work. Gently pulling the slice away as you cut can also reduce friction and prevent compression. For softer breads, a lighter touch is even more critical. If the bread continues to crush, consider chilling it slightly before slicing, as colder bread holds its shape better. Remember, a swift, decisive motion, rather than a slow, grinding one, is key to preserving the bread’s texture.
Preventing Uneven Slices
Achieving uniform slices hinges on maintaining a consistent cutting angle and applying even pressure throughout the entire stroke. Ensure your cutting board is stable and the loaf is positioned squarely. Maintaining a square cutting angle is paramount; visualize a straight line and follow it diligently.
Avoid tilting the knife or changing direction mid-slice. Consistent pressure application prevents the blade from wandering or digging in deeper in certain spots. Practice makes perfect – freehand slicing requires developing muscle memory. If using a manual slicer, ensure the bread is securely positioned within the jig. For automated systems, regular calibration is essential. Remember, a smooth, controlled motion yields the most consistent results.
Addressing Torn Crusts
Torn crusts often indicate a dull blade or improper slicing technique. Start by scoring the crust with a sharp knife before attempting a full slice; this creates a guide and reduces resistance. A gentle sawing motion, utilizing the full length of the blade, minimizes tearing compared to rapid, short strokes.
For stiffer crusts, a slightly deeper initial cut is beneficial. Remember to gently pull the slice away as you cut to reduce friction. If the crust continues to tear, consider allowing the bread to cool completely, as warmer crusts are more prone to damage. A high-quality serrated knife is crucial, and regular sharpening maintains its effectiveness. Avoid excessive downward force, letting the blade do the work.